"Sharing the Process" - Part 2
A week ago on Sunday morning I headed into the studio, cleaned and oiled The Beaut, and started sewing.
Section A was first (obs), and I stitched verrrrrrrrryyyyyyyyyy slowly. I picked up a little bit of speed with Section B, and was sailing along by Section C. Not at max speed, mind you; more like, I know where I'm going and this is good.
 |
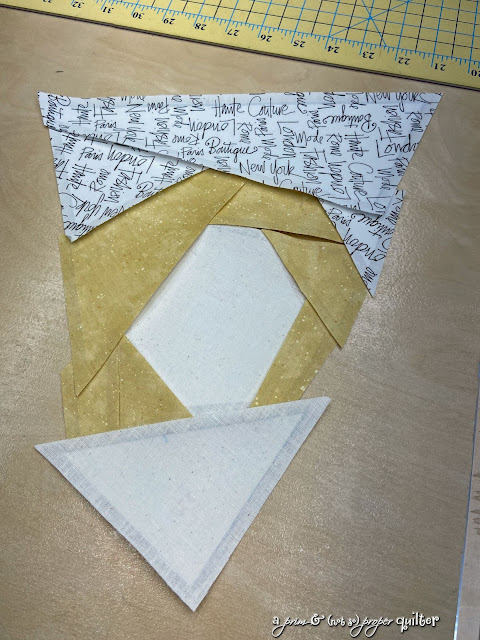
| LeiLani's head laid out for piecing |
Because it's paper piecing, it's all straight lines and no Y- or partial seams; and the beauty of this technique is you're not sewing on the paper, but just to the right edge of the freezer paper. I'm enjoying it.
Smaller pieces have been a bit peskier than the larger ones, but by the time I started work Monday morning, I had pieced Sections A-F and AA and BB. Good times!
 |
| This is Cindy; I changed her hair, and used the batik instead of ribbing at the neckline of her top. |
In this technique you leave the freezer paper on the fabric after you've sewn your seam for stabilizing purposes. The problem I'm having is that the freezer paper doesn't necessarily want to stay on. I don't know if it's because it may be old or because I ironed it to the fabric for too long. If it happens after I sew a seam, I just plop it back down on the fabric and give it a quick press and it will hold for just a bit longer.
I am sewing the sections in alphabetical, or consecutive order. It's the same for me when following a new-to-me recipe; I will follow the instructions the first time and after that, anything is fair game. So far, so good. Ruth McDowell does a great job of explaining her process and the book has good photos showing how she performs her techniques. Nothing was left to my imagination -- she's that good. There's another roadmap for pressing each piece after you've sewn it, and the roadmap for joining together all the sections.
I recommend following precisely each of her steps. While so much is prep, it's important to take the time to prepare your freezer paper pattern, pay attention to any fussy cutting details, sewing precisely, etc.
And here's where I get to the part about living in the moment: I had stated that I would share my process while making this panel, but I clearly fell down in my task. That's what happens when you live in the moment and forget to stop, take a photo, add notes about what you did, share some pointers, all to help you should you decide to make a quilt using this technique. I apologize--I was having too much fun.
Progress shots:
 |
| View of master template while I'm piecing two large sections together |
 |
| Two quadrants completed; I'm flying high at this point |
 |
| Everything is sewn together. Trimming will come later. |
And fun is a good thing when you're working on a quilt--it's been quite a while since I actually had fun with one. A lot of what I've done in the past couple of years has been what I refer to as "obligation sewing"--and while I'm not saying I'm miserable when I do it, this particular project feels like pure joy. The last seam gave me some fits and starts but I soldiered through it and I'm a happy camper. Is it perfect? NO! Mine never are, and I'm good with it! I will add some corrective pieces of fabric to smooth out some lines that are more jagged than they should be.
I will try to do a better job of "sharing the process" in another project, but I will continue to blog about my progress on this quilt. This panel is a major component of the much larger quilt, and while I had a game plan, working on this made think of shifting things around, so to speak. This will sit on my design wall while I stew. I had determined that it would take me a year to finish this one, but what I thought would be the hardest part I blew through in 2 weeks. Which tells me I'm just entering the hard-part phase.
I'll spend the next week or so catching up on my digitizing homework and lessons. I haven't touched it since the class in early April and I need to practice clicking away on stuff to develop that good muscle memory.
In the meantime, go make!


Comments
Post a Comment